Showing posts with label onthemenu. Show all posts

Thursday, March 31, 2016

Comfort Food Dinner - Chicken Pot Pie

To me, there are several different meanings to the word "comfort food." Sometimes it can be the late-night pizza runs after you've had a few beers and all you're looking for is greasy goodness. Other times it can be reminiscent of childhood memories and may only be a "comfort" food to you. But then there are those foods that really stick to your ribs and leave you feeling full and satisfied...THIS was one of those kinds of comfort foods. 

I actually made this pot pie a couple weeks ago, before we started our post-vacation diet cleanse (ok, not really a cleanse but more like trying NOT to go out to eat every meal) and it was so good as a weeknight dinner but also a couple servings of lunch too!


I started with a few stalks of celery and a small onion, diced. 


I heated some oil in a large pan and simmered the chopped veggies with salt and peppers until they were soft and translucent, about 5 minutes. 


I removed the veggies from the pan and added two chicken breasts which were diced, and then seasoned with salt, pepper, and a little oregano. I cooked those until they were cooked through, about 7 minutes. 


I then removed the chicken from the pan and started working on my roux. To make the roux, I melted about 2 tablespoons of butter into the same pan I had just cooked the chicken. Once melted, I then added a couple heaping tablespoons of flour and about a cup of chicken broth. 


I brought the mixture to a simmer over medium heat, then turned it to low so it could thicken up. (and please ignore the flour chunks...the roux just wasn't hot enough for the flour to be incorporated with the liquid quite yet!!)


As the roux was firming up, I got out my frozen veggie mix and measured out about 2 cups to use in the pie. I also made my biscuit topping, which was just the standard Bisquick recipe on the box!


Ready to assemble! I first mixed the cooked veggies, chicken, and frozen veggies in a large, separate bowl to make sure they were evenly combined.


Once the mixture was completely combined, I poured it into a greased baking dish, along with my finished roux.

(^^I took a pic without the roux/gravy because it was much prettier!^^)


I cut the biscuits into large rounds and placed them over the top of the mixture. I also used the leftover corner pieces to fill the gaps so there wasn't any inner mixture exposed!


I cooked the pot pie at 325 for 30 minutes, and then cranked the heat to 375 and cooked it for another 20 minutes. Depending on your oven or the thickness of your biscuit, you may need more or less time...I just slightly pulled apart the inner-most biscuits and once the bottom wasn't gooey I knew I was set! You could also cover the top with foil if your biscuits get too brown too fast but still need to be cooked through. 


Even though it took a little bit longer to assemble and cook than my normal weeknight meals, it was sooooo satisfying! Plus since I didn't use any "cream of" soups, I felt a little more healthy...ish. :)

Happy Thursday!


Wednesday, February 24, 2016

Comfort Food Dinner - Chili Corn Bread Casserole

"Oh the weather outside is frightful..."

That seemed to be the theme last night here in Mobile, when everyone was hunkered down and preparing for one of the worst storms of 2016. Somehow it completely missed us and ended up pummeling Gulf Shores instead, but I still thought it would be a good night to make some comfort food while I cuddled on the couch with my fur babies watching the weather channel all night! 

This meal is actually another throw back to my childhood (I know, I know, I need to stop taking credit for my momma's meals!), but I can vividly remember eating this meal on chilly fall nights, and it brought back a comforting nostalgia last night as the crazy winds swirled around our house. (Also after making this last night, I think this might become a new tailgating favorite, and I have all kinds of ideas about baking it in a muffin tin so it's bite sized... but as always I digress...)

The ingredient list is actually fairly simple but could easily be boosted up to include more veggies if you'd like. Nearly everything came from my "pantry staples" list, which I'll have to share sometime, but you wouldn't believe just how yummy these simple flavors are when combined!


I started by rough chopping the onion and sauteing it in some hot oil until translucent, about 3 minutes. 


I then added the ground beef and cooked it until it was fully browned, another 5 minutes or so. 


While the meat was cooking, I started whipping up the cornbread batter. OH! And speaking of cornbread!!

I have realized this is another area that my upbringing severely impacted my view of food...growing up, anytime my mom made cornbread, she would always add a can of corn to the batter and would sometimes even add chiles or cheese depending on what type of meal we were eating. This obviously makes for SUPER moist cornbread, almost cake-like, so when I moved to the south and they served me dry, no-corn cornbread I wasn't sure what to think!! Turns out, this is a hotly debated topic that I am often forced to lose due to my husband's opinion and my geographic location, but since I grew up eating moist cornbread and this was MY comfort food recipe, I decided to include the can of corn :)

As I was saying though...the box recommends allowing the batter to sit for at least 5 minutes before baking so once it was mixed I went back to my chili mixture.


Once the meat was fully browned, I added the tomatoes, tomato paste, and chili powder, then added salt and pepper to taste. This is the step where you could also add beans or any other type of veggie if you wanted, but I decided to stick with simple.


After letting the mixture simmer for a minute or two, I poured the chili into the bottom of a greased 9x9 square baking pan and then added the cornbread.


Can you tell I was excited by the fact that I took a foodie close-up before it even went into the oven?! :)


To make sure the bread was fully baked, I nearly had to double the cooking time. I also added some shredded cheddar cheese midway through as an afterthought but it would be just fine without it as well. Once it came out of the oven and I let it cool for a couple minutes, I dug in!!


I prefer to garnish this casserole with a little sour cream once it cools, and had I had any chives on hand that would've been included too. I remember my dad adding hot sauce when I used to eat this as a kid, so truly this is one of those recipes that can be changed up however you'd like (even no corn in the cornbread!)


I am happy to report that by resorting to this childhood comfort food, I weathered the "storm" and have a tasty leftover lunch to get me through my hump-day :)


Chili Corn Bread Casserole

Ingredients:
- 1 box cornbread mix
- 1 egg, for the cornbread mix
- 1/3 cup milk, for the cornbread mix
- 1 can corn
- 1 small onion
- 1 lb. ground beef
- 1 can diced tomatoes (I used fire roasted for extra flavor)
- 1 can tomato paste
- 1 Tbs chili powder
- 1/2 cup shredded sharp cheddar cheese

Instructions:
1. Roughly chop the onion and add it to a pan of hot oil. Lightly salt and pepper. Cook until translucent, about 3 minutes.
2. Add the ground beef to the onions and cook until browned, about 5 minutes.
3. To make the cornbread batter, follow the recipe on the back of the box (aka combine the mix, egg, milk, and can of corn) and let it sit for about 5 minutes
4. Add the tomatoes, tomato paste, and chili powder to the ground beef. Salt and pepper to taste and let it simmer for about 2 minutes.
5. Pour the chili mixture into a greased 9x9 inch baking pan.
6. Pour the cornbread mixture on top of the chili
7. Bake in a 400 degree oven for 20 minutes, then add cheese, lower the temperature to 350 degrees, and continue baking for another 15 - 20 minutes, until a toothpick inserted in the middle comes out clean.
8. Let it cool for about 5 minutes, then serve as desired!


Wednesday, February 3, 2016

Cheese Poppers - Food Experiment Gone Amazing!

Ok guys...I'm patting myself on the back for this one. Do you ever have one of those recipes where literally all you do is throw together ingredients that are on the verge of going bad, and instead of it being a dreadful concoction it turns into one of your new favorite recipes? Well...this has just happened to me. So much that I'm pretty sure these will be on my list of Super Bowl snacks this weekend. So. Much. Yum.


Let me start by saying that I am slightly a food hoarder. By that I mean I LOVE when my fridge is full, particularly of fresh ingredients, so that I can let my inspiration go wild on what to make for dinner. However, that also leads to many last-minute scrambles where I try and use everything up before it goes bad, which is exactly the mess I was in when I made what I'm calling cheese poppers. 


It started out with a few cheeses we'd bought a couple weeks ago for a wine and cheese night...cheddar, Camembert, and goat cheese. Although I loved each of these little cheeses dearly when we bought them, there are only so many wine and cheese nights for two you can have before you are ready for a change. So, I decided that I would somehow combine them with some canned biscuit dough (also about to go bad!) and see what I could come up with. I had very low expectations for myself but was soon to be pleasantly surprised!


I decided to keep each of the cheeses separate since they had such strong flavors and would simply add some complimentary flavors to add volume. To the cheddar I added a little grated parmesan, to the Camembert I added strawberry jelly, and to the goat cheese I added roasted pineapple and habanero sauce.


WHICH...let me digress...was a Christmas gift from one of my co-workers, and has become my newest condiment addiction. The texture is almost like a salsa, but the flavor is out of this world...the pineapple gives it sweetness with a spicy kick from the habanero. I promise it will be featured in many a future recipe!


But back to my cheeses...to each mixture I also added a couple tablespoons of flour so it would bind a little better. I zapped the cheddar and Camembert in the microwave for about 30 seconds so they would soften, and stirred the mixtures together until they were all fully combined. At this point in my recipe I was still a bit unsure of how good these would be but kept going....


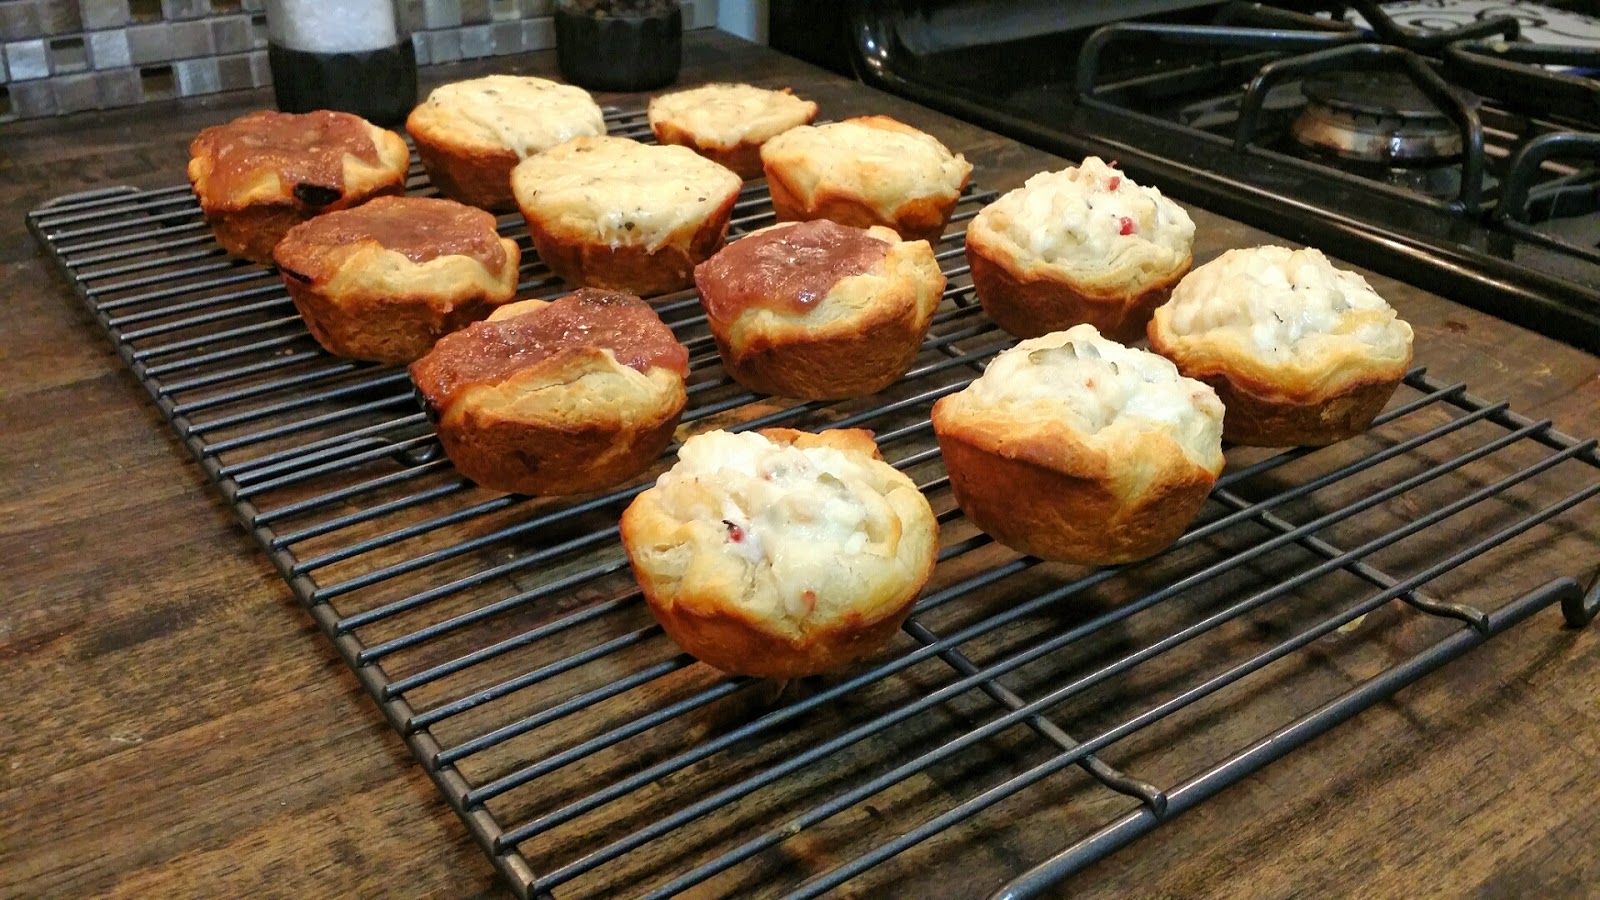
Once I had halved each biscuit onto a sheet of waxed paper, I spooned a heaping tablespoon of the cheese mixture onto each one, and then proceeded to simply pick them up and put them in a greased muffin tin. 


I put them in a 375 degree oven for 12 minutes and they came out looking golden and gooey...I was starting to get excited about this recipe since they smelled so good...they just had to taste good too!


And they did not disappoint!! My favorite was the goat cheese popper because when cooked it almost reminded me of cheesecake but with a little bit of a habanero kick! Andrew liked the cheddar one the best and suggested maybe adding some roasted garlic next time (GREAT idea, hubby!). Next time I'd probably also use a crescent roll or maybe puff pastry since the biscuit was a teeny bit heavy, but when you're looking for a great and easy recipe for a crowd, this fits the bill!


Until next time cheese poppers...

Wednesday, January 27, 2016

Breakfast - Apple Crescent Roll Dumplings


It never fails that halfway through the work week, my mind begins to drift towards the weekend and what sorts of fun activities I can look forward to...today is no exception since my "little" sister (I use the term ironically since she's two years younger than me but about four inches taller!) and her husband are coming in town!!! YAY!!! Words cannot express how excited I am! But I digress...

As I mentioned a couple posts ago, my hubby has a new work schedule this year that causes him to have to work on Saturday mornings. And while yesssss it's a bummer when it comes to planning weekend getaways, it's amazing when it comes to the "me" time I have to cook fun foods, do laundry, and clean up the house!! Hence my post last weekend about my cleaning frenzy!

Well this weekend was no exception in waking up and making myself a tasty breakfast, but this week I made a throwback meal to one my mom used to make when I was younger, where she would wrap apple pieces in biscuit dough and cook them in a muffin pan with butter and brown sugar (can I say YUM any louder?!). For my recipe, I used two very simple ingredients that I had in my fridge and tried to recreate as best I could.


First, I peeled, cored, and cut the apple into eight equal pieces. 


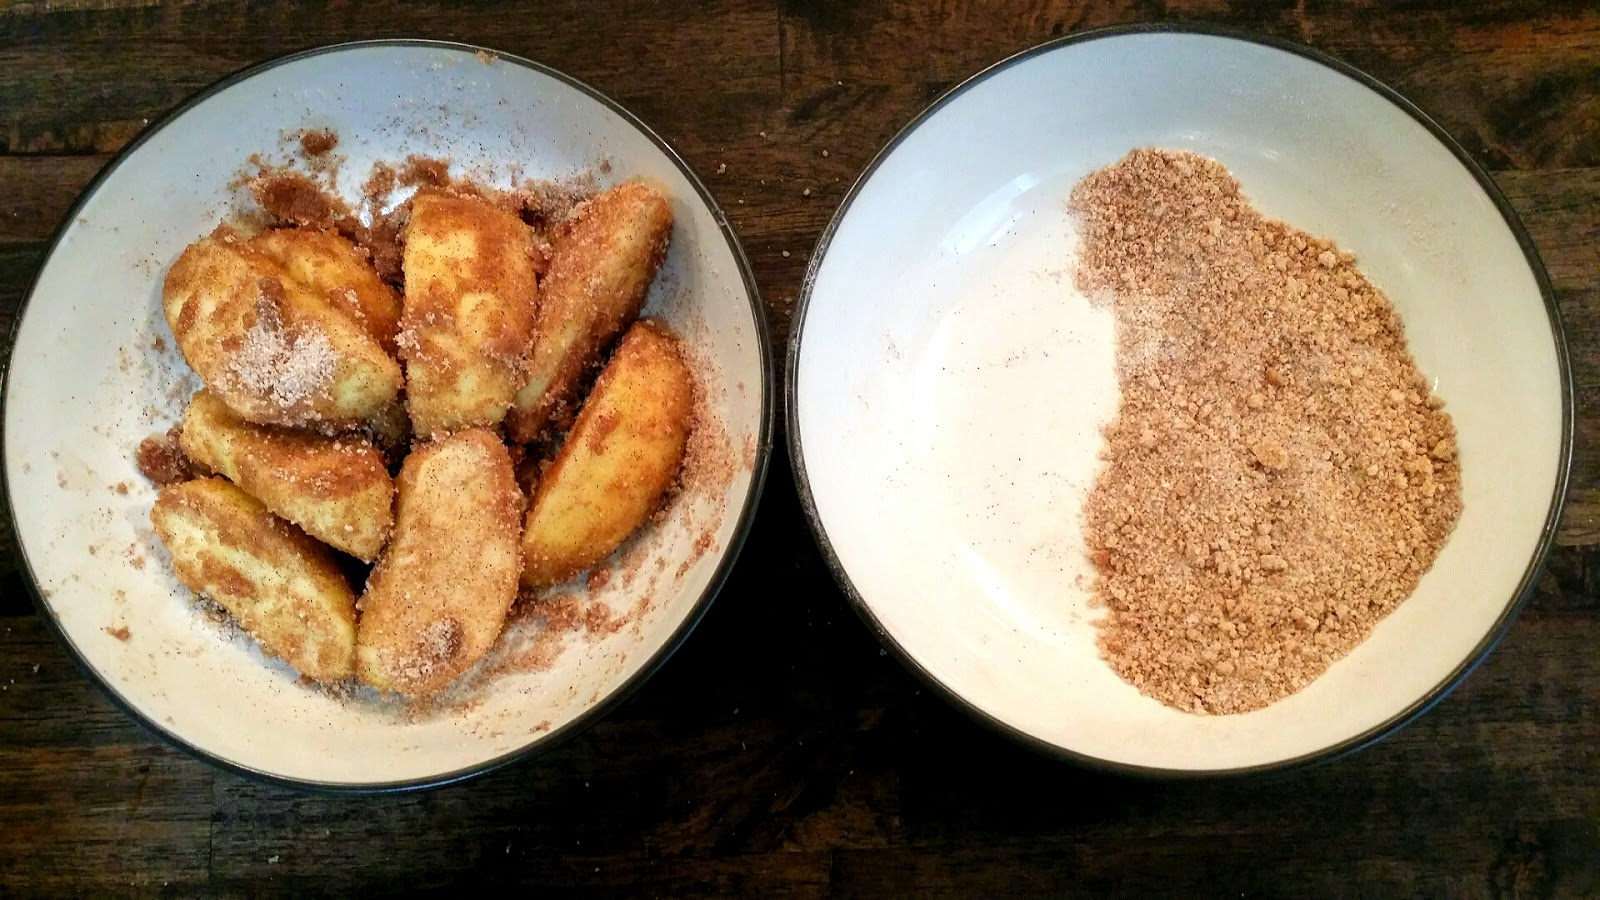
I squeezed about a tsp of lemon juice on them to keep them from browning, as well as added about a tsp of vanilla extract for flavor and additional moisture to grab the sugar coating. To make the sugar coating/dough filling, I used 1/4 cup brown sugar, 1/4 cup white sugar, 1 Tbs flour, and 1/2 tsp cinnamon.


I added half the sugar mixture to the apples and tossed them until they were fully coated with sugary yumminess.


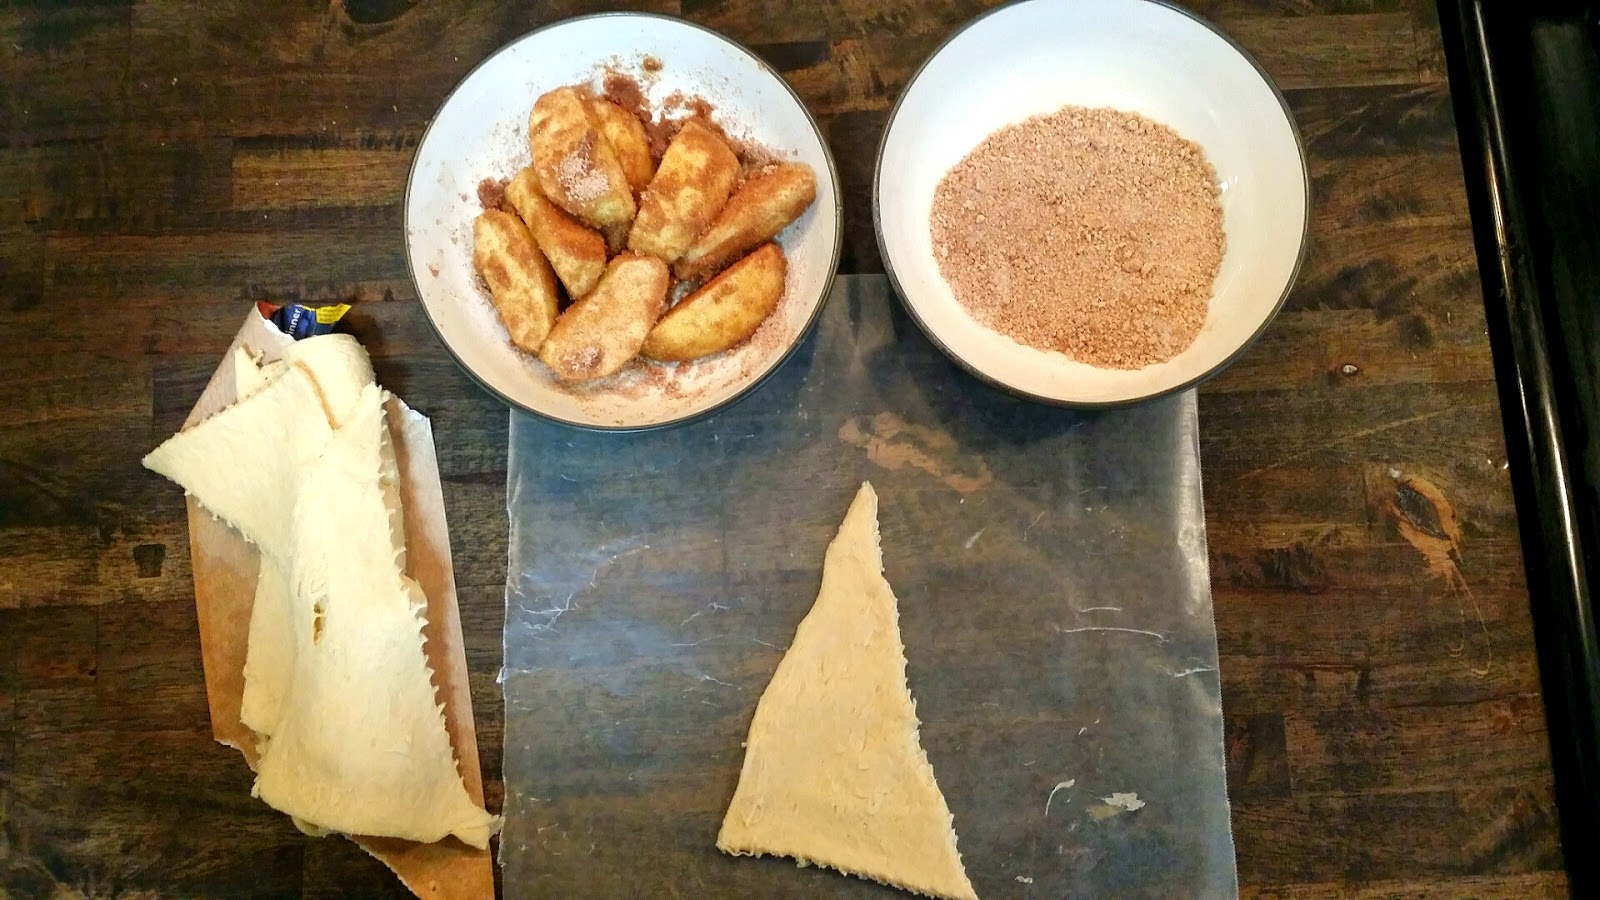
Once I popped the roll of crescent dough and separated the pieces, I started constructing my dumplings!

(Cooking Tip: Since the dough can be fairly sticky, I used a piece of wax paper to roll my dumplings...was easier than trying to grease a pan and much faster cleanup!!)


First,  I sprinkled a heaping tsp of the sugar filling onto one triangle of the crescent roll dough...


...and then added one wedge of apple. 


To roll the dough, I simply rolled it from bottom to top as the instructions said, and then folded in the sides and pinched all the seams so no sugar could leak out.


From there it was just sprinkle, roll, repeat until all 8 rolls were ready to be baked!


I baked them according to the instructions on the package and just used the max time recommended, since I knew the apples inside would slow down the cooking process.


As you can see I wasn't as effective in pinching all the seams as I'd thought, but oh well it just meant I had some crispy caramel to eat with my rolls!

I also made a quick glaze which wasn't really necessary but definitely yummy...for the glaze I used 2 Tbs. powdered sugar, 1/2 tsp. lemon juice, 1 tsp. milk (or in my case caramel macchiato flavored coffee creamer since as I've said before we never have milk in our house), and 1 tsp. maple syrup. I drizzled this all over the hot rolls and forced myself to wait at least two minutes so it could set and harden a teeny bit. 


Such a wonderful start to my day. Now just to make it through the next two days so can have a YUMMY breakfast with my family :) 


Happy Wednesday! 


Tuesday, January 19, 2016

My Weekend Breakfast - Pumpkin Waffles

Do you ever have one of those weekends where you wake up early on a Saturday morning, sun is shining, and all you want to do is....clean? Well that was me this weekend, and not only did I clean but I deeeeeeep cleaned...talking steam cleaned the couch, scrubbed kitchen floors, wiped down windows and baseboards, and did all the laundry (and put it away!!!). I thought because I'd worked so hard, I deserved a little treat for breakfast...AND since I had half a can of pumpkin puree left from my puppy birthday treats last week, AND since I got a waffle maker for Christmas that I hadn't gotten the chance to use yet, I thought what better combination than to make pumpkin waffles?!? Now...I know that technically the fall pumpkin trend is past and really when the pumpkin is substituted for oil it actually makes the waffles healthier, but it was still an amazing breakfast and made me ready to tackle the day!

I started out using Martha Stewart's Classic Waffle Recipe I found online here, but instead of the oil I added pumpkin puree, as well as about 1 tsp of vanilla, 1/2 tsp. cinnamon, and 1/4 tsp. nutmeg (I could've also just used pumpkin pie spice if I'd had any!). 


For the milk, I also made a little substitute that I like to do in baking and use dry milk instead of regular milk...because I'm the only person who drinks milk at my house, it ALWAYS ends up going bad if I keep a gallon or even half gallon around. I've found that keeping a box of dry milk in the pantry works well in a pinch, and even though I don't know that I'd want to drink a glass, it works just fine in recipes! The recipe on the back is for a whole quart, but I find that 1/4 cup of dry milk to 1 cup water is about perfect!


After I added all the ingredients and mixed the batter, I just had to wait for my waffle iron to heat up!


Once the waffle iron was heated up, I "poured an amount of batter into the waffle maker per manufacturer's recommendations"...


Disclaimer: I am aware this is NOT manufacturer's guidelines on how much batter to add to the waffle iron, but I like my waffles a little softer than normal...plus those little bits on the side are perfect to peel off and munch on :)


Once the waffles were ready, I served them with some leftover honey butter I made a few weeks ago (you can check out that recipe here), sprinkled with powdered sugar, drizzled with organic REAL maple syrup, and fueled up for a long day of cleaning!