Monday, December 21, 2015

Holiday Gift Guide: Flavored Butter


Happy holidays!! It has been way too long since I've posted, but I thought what better way to pick back up than with an easy and crafty gift idea for the friends and family you love?! I can't lie, I was inspired by this idea on "Your Home Based Mom" blog, but I took it and went in a slightly different direction that has made some happy people in my life :) What is this easy gift you may ask....BUTTER! Flavored butter to be more specific...yum yum yum!

Originally, I was planning on using small 4 oz. canning jars for this gift and had planned on doing three stacked on top of each other and tied with a ribbon but got majorly excited when I found these adorable little red jars in the front section of Target because it made the gift way more festive and personal. However these jars were about twice the size of the canning jar I planned to use, so I had to make two runs to Costco for ingredients, which let's be honest isn't really a bad thing!


You could also make this with used baby food jars, just maybe spray paint the tops so it doesn't confuse anyone!

For my flavors, I wanted a sweet, savory, and fruit option, so I ended up making a honey butter, a garlic and herb butter, and a strawberry butter. For all options I used Kerrygold Irish butter since I adore the flavor and it has a softer consistency even when it's than other cheaper butters might.


To make each of the butters, I simply combined all the ingredients in my stand mixer for about a minute until the ingredients were combined and the butter had a nice whipped texture. (You could use either the paddle attachment or the whip attachment, depending on how light and fluffy you want the texture to be.) And although I based my recipes off ones I found online, you could certainly add more or less ingredients depending on how strong you wanted the other flavors in your butter.

Honey Butter:
6 sticks of butter, softened
1/2 cup honey
1 tsp cinnamon
1 Tbs vanilla extract


Garlic and Herb Butter:
6 sticks of butter, softened
4-6 cloves of roasted garlic, mashed
1/4 cup parsley, finely minced
1/4 cup chives, chopped


Directions for roasted garlic: cut the tops off the heads of garlic, drizzle with olive oil, and sprinkle with salt and pepper. Cover with foil and bake in a 450 degree oven for 45 minutes. IT'S SO GOOD!!!


Strawberry Butter:
6 sticks of butter, softened
1 cup frozen strawberries, thawed and partially drained
1/4 cup powdered sugar


Once all the butters were made and in the fridge, I wanted to label them so it would be easy to tell what they each were. Luckily, I found some ADORABLE Christmas themed labels, gift bags, and mini clothespins at Michael's this year that I thought would be perfect for my gifts.


On the front of each label, I wrote the name of the butter, and on the back I put the ingredients used. You could certainly put instructions for use, such as "use in the next two weeks or freeze," but since I was giving each gift in person I let them know that freezing the jars until they were ready to use them would help them last much longer.


Once the butter was labeled and chilled, I stacked them in the bag, along with a loaf of bread, and put some cute crinkled paper to look like "snow" on top to make it more festive. As I said...easy and so personal. 


Merry Christmas from my family to yours!!

Tuesday, April 7, 2015

Tablescape - Spring is in the Air!

With the weather warming up in Mobile and Easter being this past weekend, I thought it would be a great time for a new tablescape that brought some brightness and freshness to the house! I've recently become obsessed with creams and pale gray and thought that would go perfectly with my adorable birdcage napkin holders I found at Steinmart a couple weeks ago :) Check out some of the pictures from my new dining room scene:


The branches and small glass lantern came from Old Time Pottery...seriously that store is my downfall...I can never leave there without buying SOMETHING for my house!


The tin can is actually a used canned-tomatoes can and was just rinsed and de-labeled prior to stuffing it with Spanish moss and some fake flowers (also from Old Time Pottery)
 
 
Overall I'm really happy with this tablescape and the springy vibe it brings to the house...now I'm just keeping my fingers crossed that the scorching summer heat stays away just a little longer!

Sunday, April 5, 2015

Backpacking in the Cohutta Wilderness

Last week, Andrew and I went off the grid for a week and went backpacking in the Cohutta Wilderness Area in northern Georgia. It was peaceful and exhausting at the same time...every morning waking up to the sounds of nature....only to pack up camp and hike with everything on your back! Surprisingly, there were already some pre-made campsites throughout the trails that made our stay a little easier - even though we only averaged 5 - 7 miles a day, it was nice to have a fire pit ready once we decided to stop!

For our meals, I made light dry mixes that when water was added would re-hydrate for a tasty meal. I bought a food dehydrator and was able to create a veggie stir fry, pesto salmon pasta, tuna casserole, spaghetti, and jambalaya...I'll be sure and share those recipes soon!

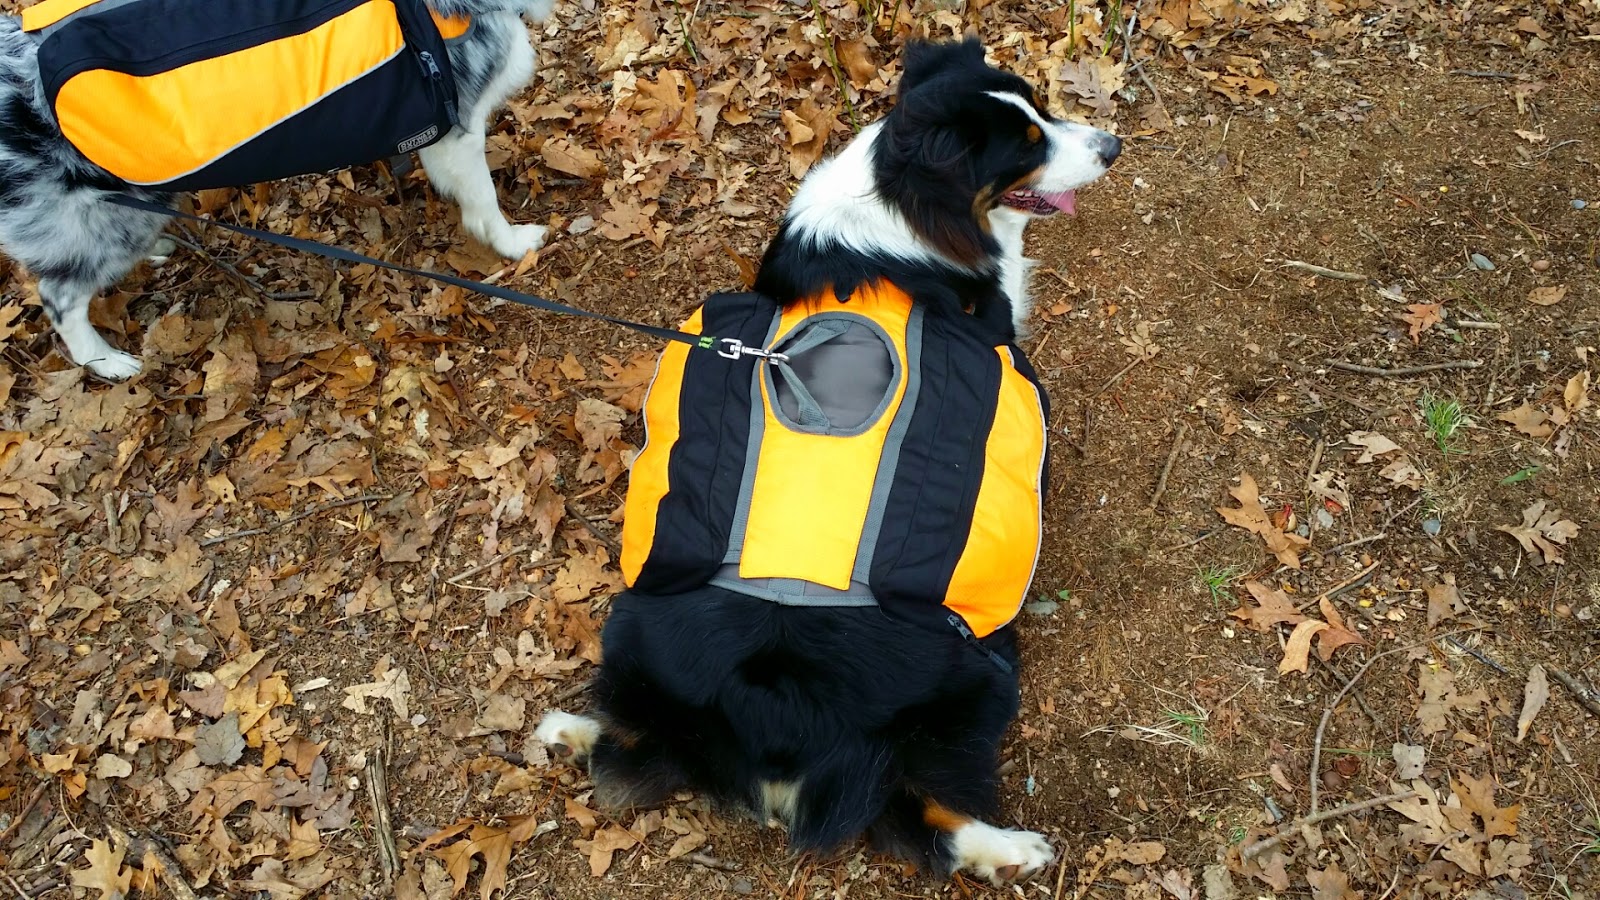
The pups did well with their packs too...they each carried their own food, and once that started running low we gave them each a few things from our packs to lighten the load for everyone :) 

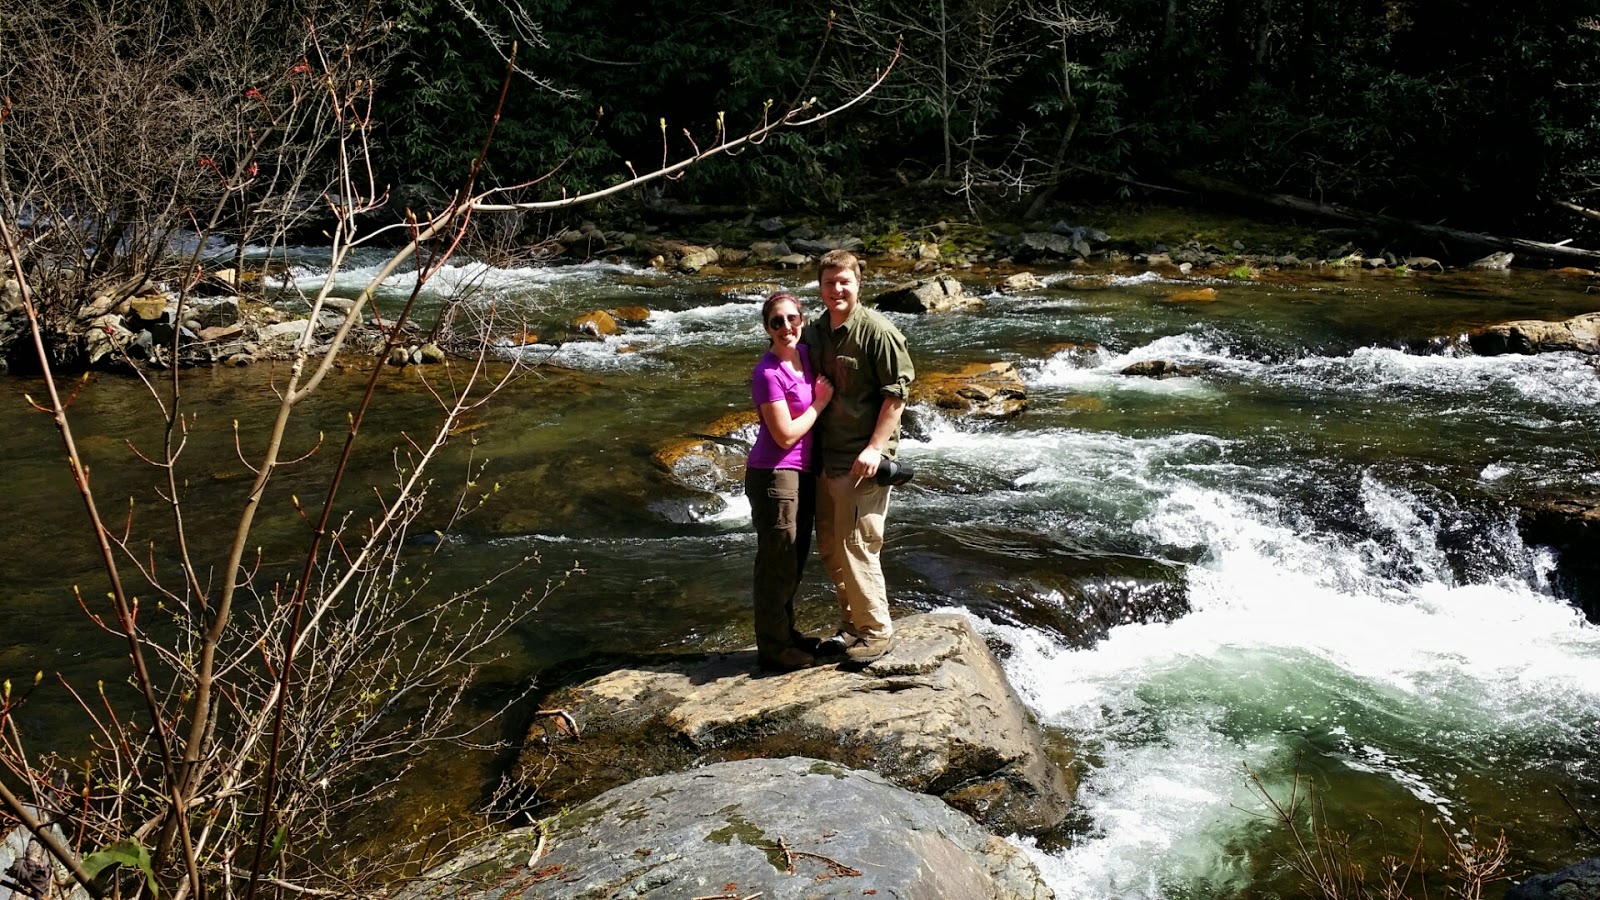
Here are some of the pictures I got from our trip!

Day One - Rough Ridge Trail

We started by hiking up the side of a mountain and then walked along the ridge until we came back down into the valley where we made camp. And boy, was that valley COLD! I think all of us were a bit on edge that first night...between being convinced that every sound was a bear, plus trying to stay warm, it was a long night!


Day Two - Jacks River Falls Trail

In the morning we joined another trail that took us along another ridge and down into the heart of the wilderness where flowers and plants were just starting to bloom. This was definitely one of the prettiest hikes, and the pups enjoyed it too since they got to play in some of the creek water! At the end of the night, we set up camp right next to a creek, which was so calming to hear throughout the night.


Day Three - Beech Bottom and Jacks River Falls

The next morning we had to brave a "creek" crossing to continue on the trail to see Jacks River Falls. However, I'm not sure if the water was high or whoever claimed this was a creek was just crazy because the water was waist deep in the middle and FREEZING cold. Luckily I only had to cross one time with the dogs....and then take pictures while the boys made the rest of the trips with our stuff :) Once we were dried off and warmed up, we continued our hike to the falls and another creek-side campsite for the night. 


Day Four - Hickory Ridge Trail

The last day was by far the most difficult, since we had to climb up Buckeye Mountain which took about 3 miles and 3 hours...I think my thighs got the workout of their life! Once we got to the top, a storm rolled in and the rest of the hike was foggy and damp. We had originally planned on camping one more night and make it to the car early the next morning, but with pouring rain and 50 degree weather we instead opted for a hotel (complete with pizza and beer) to finish off a long week of trekking through the woods!


Day Five - Coming Home!!!

This is definitely a trip I will remember, and I'm sure we'll be doing plenty more like it in the future. Next time I hope to at least see a little wildlife, but for my first big backpacking trip into the wilderness I think it was best that it remained bear-free :) 

Also, in case anyone is interested in what gear we used, I've listed a couple things below:

Backpacks:
Andrew - Teton Explorer 4000
Nicki - Teton Scout 3400
Mav & Ripley - Outward Hound, size large

Tent:
Coleman Hooligan 3

Sleeping Bags:
FeatherLite +20 degrees

Sleeping Pads:
Thermarest Ridgerest