Showing posts with label breakfast. Show all posts

Wednesday, January 27, 2016

Breakfast - Apple Crescent Roll Dumplings


It never fails that halfway through the work week, my mind begins to drift towards the weekend and what sorts of fun activities I can look forward to...today is no exception since my "little" sister (I use the term ironically since she's two years younger than me but about four inches taller!) and her husband are coming in town!!! YAY!!! Words cannot express how excited I am! But I digress...

As I mentioned a couple posts ago, my hubby has a new work schedule this year that causes him to have to work on Saturday mornings. And while yesssss it's a bummer when it comes to planning weekend getaways, it's amazing when it comes to the "me" time I have to cook fun foods, do laundry, and clean up the house!! Hence my post last weekend about my cleaning frenzy!

Well this weekend was no exception in waking up and making myself a tasty breakfast, but this week I made a throwback meal to one my mom used to make when I was younger, where she would wrap apple pieces in biscuit dough and cook them in a muffin pan with butter and brown sugar (can I say YUM any louder?!). For my recipe, I used two very simple ingredients that I had in my fridge and tried to recreate as best I could.


First, I peeled, cored, and cut the apple into eight equal pieces. 


I squeezed about a tsp of lemon juice on them to keep them from browning, as well as added about a tsp of vanilla extract for flavor and additional moisture to grab the sugar coating. To make the sugar coating/dough filling, I used 1/4 cup brown sugar, 1/4 cup white sugar, 1 Tbs flour, and 1/2 tsp cinnamon.


I added half the sugar mixture to the apples and tossed them until they were fully coated with sugary yumminess.
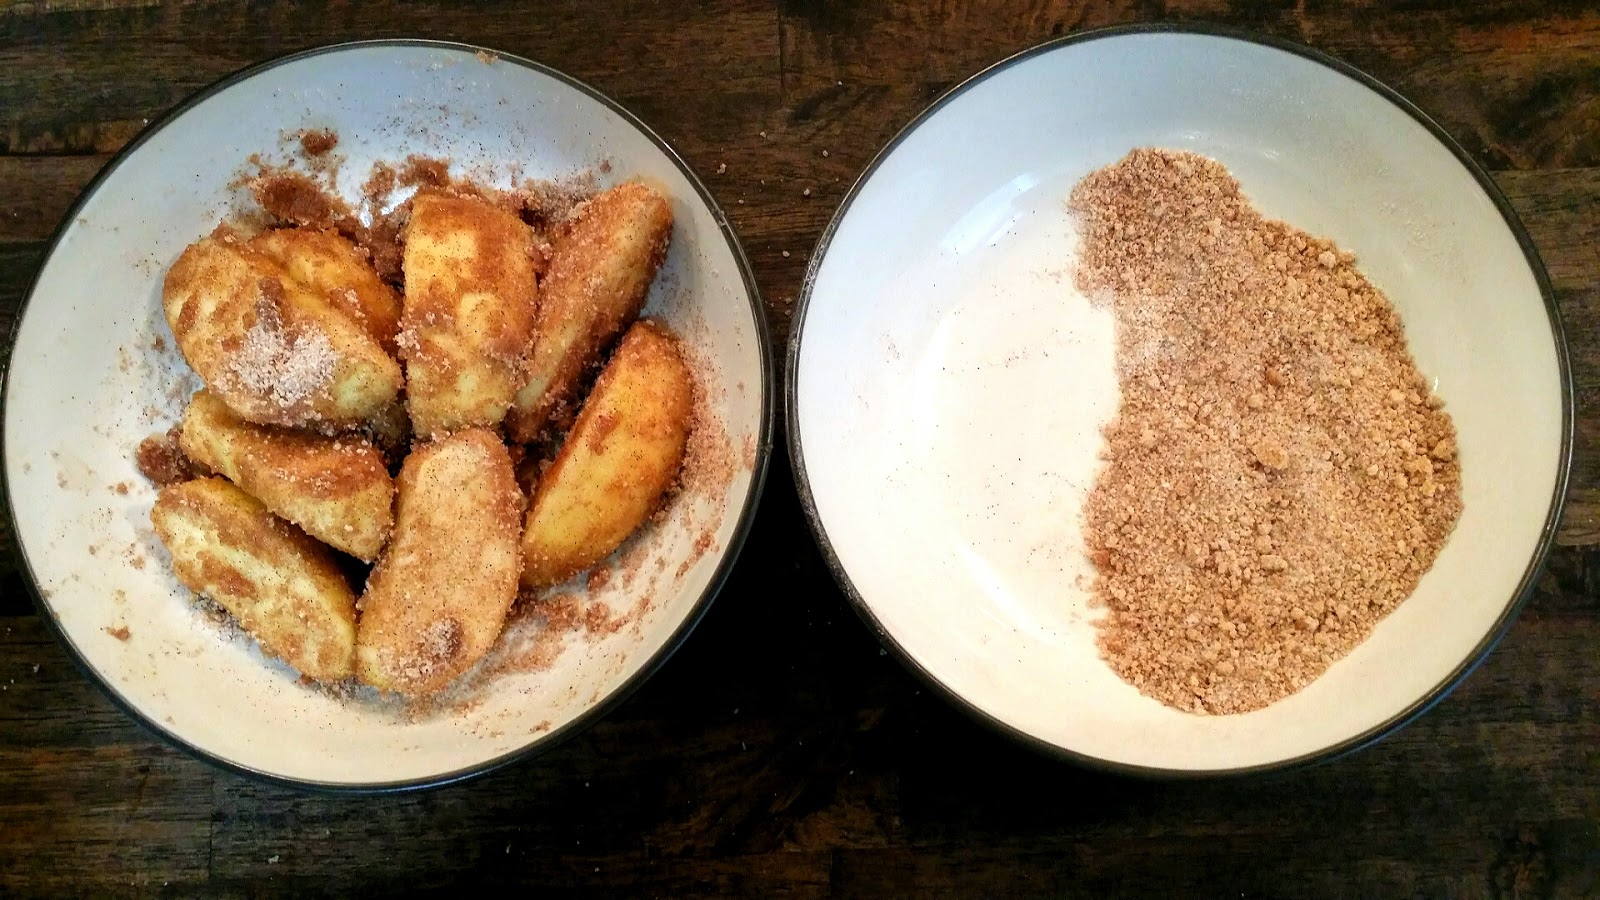

Once I popped the roll of crescent dough and separated the pieces, I started constructing my dumplings!

(Cooking Tip: Since the dough can be fairly sticky, I used a piece of wax paper to roll my dumplings...was easier than trying to grease a pan and much faster cleanup!!)
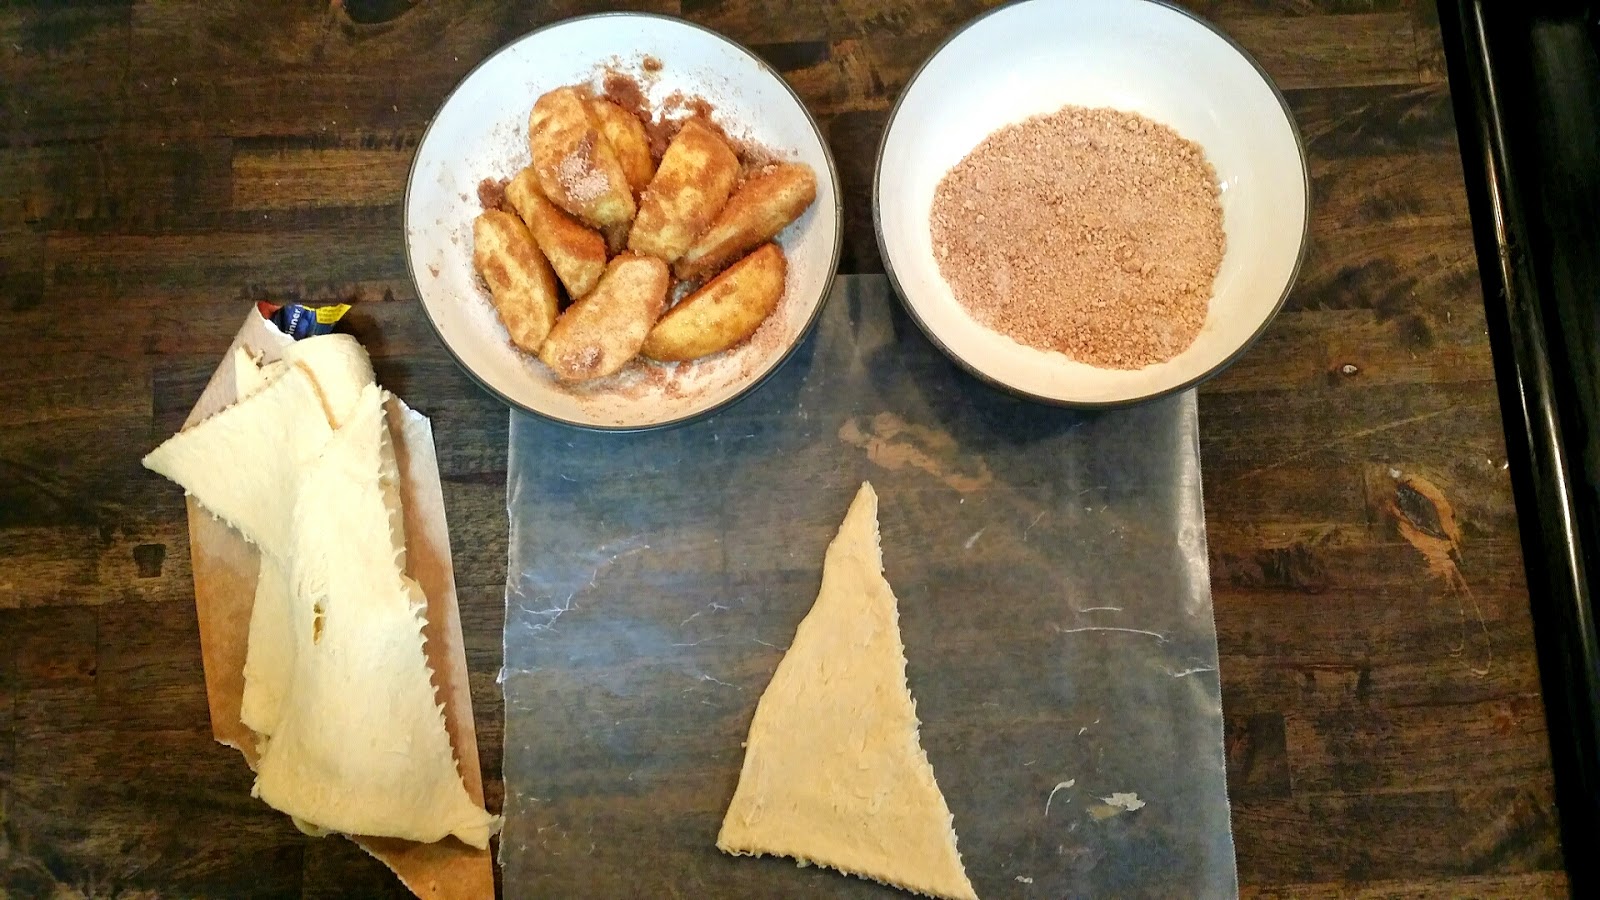

First,  I sprinkled a heaping tsp of the sugar filling onto one triangle of the crescent roll dough...


...and then added one wedge of apple. 


To roll the dough, I simply rolled it from bottom to top as the instructions said, and then folded in the sides and pinched all the seams so no sugar could leak out.


From there it was just sprinkle, roll, repeat until all 8 rolls were ready to be baked!


I baked them according to the instructions on the package and just used the max time recommended, since I knew the apples inside would slow down the cooking process.


As you can see I wasn't as effective in pinching all the seams as I'd thought, but oh well it just meant I had some crispy caramel to eat with my rolls!

I also made a quick glaze which wasn't really necessary but definitely yummy...for the glaze I used 2 Tbs. powdered sugar, 1/2 tsp. lemon juice, 1 tsp. milk (or in my case caramel macchiato flavored coffee creamer since as I've said before we never have milk in our house), and 1 tsp. maple syrup. I drizzled this all over the hot rolls and forced myself to wait at least two minutes so it could set and harden a teeny bit. 


Such a wonderful start to my day. Now just to make it through the next two days so can have a YUMMY breakfast with my family :) 


Happy Wednesday! 


Tuesday, January 19, 2016

My Weekend Breakfast - Pumpkin Waffles

Do you ever have one of those weekends where you wake up early on a Saturday morning, sun is shining, and all you want to do is....clean? Well that was me this weekend, and not only did I clean but I deeeeeeep cleaned...talking steam cleaned the couch, scrubbed kitchen floors, wiped down windows and baseboards, and did all the laundry (and put it away!!!). I thought because I'd worked so hard, I deserved a little treat for breakfast...AND since I had half a can of pumpkin puree left from my puppy birthday treats last week, AND since I got a waffle maker for Christmas that I hadn't gotten the chance to use yet, I thought what better combination than to make pumpkin waffles?!? Now...I know that technically the fall pumpkin trend is past and really when the pumpkin is substituted for oil it actually makes the waffles healthier, but it was still an amazing breakfast and made me ready to tackle the day!

I started out using Martha Stewart's Classic Waffle Recipe I found online here, but instead of the oil I added pumpkin puree, as well as about 1 tsp of vanilla, 1/2 tsp. cinnamon, and 1/4 tsp. nutmeg (I could've also just used pumpkin pie spice if I'd had any!). 


For the milk, I also made a little substitute that I like to do in baking and use dry milk instead of regular milk...because I'm the only person who drinks milk at my house, it ALWAYS ends up going bad if I keep a gallon or even half gallon around. I've found that keeping a box of dry milk in the pantry works well in a pinch, and even though I don't know that I'd want to drink a glass, it works just fine in recipes! The recipe on the back is for a whole quart, but I find that 1/4 cup of dry milk to 1 cup water is about perfect!


After I added all the ingredients and mixed the batter, I just had to wait for my waffle iron to heat up!


Once the waffle iron was heated up, I "poured an amount of batter into the waffle maker per manufacturer's recommendations"...


Disclaimer: I am aware this is NOT manufacturer's guidelines on how much batter to add to the waffle iron, but I like my waffles a little softer than normal...plus those little bits on the side are perfect to peel off and munch on :)


Once the waffles were ready, I served them with some leftover honey butter I made a few weeks ago (you can check out that recipe here), sprinkled with powdered sugar, drizzled with organic REAL maple syrup, and fueled up for a long day of cleaning!


Sunday, March 8, 2015

Sunday Brunch - Candied Pecan French Toast

Today just feels like spring in Mobile. It's warm and sunny outside, and the birds and bugs are starting to come back into town ...I'm sure it won't be long until I'm sharing some grilling and outdoor recipes, since that's one of our favorite ways to cook. Today though, I wanted to share a brunch recipe I made this morning to start off the week! (It was going to be for breakfast until I realized daylight savings time had a different idea on that...)

Lately I've been craving some thick, homemade French toast, so while grocery shopping yesterday I decided to grab some Texas toast to make for breakfast. We also happened to get some pecans to make granola (I'll be sharing that recipe soon!) so I thought it would be a great idea to candy some of those and serve them as a topping for the French toast. And boy, was that a good idea! Read on for my recipe...

I started off with bread, eggs, sugar, milk, vanilla extract, nutmeg, and cinnamon.


For the bread, I find that Bunny brand Tex Toast makes the best French toast. It's about two times as thick as a normal piece of bread and absorbs the egg mixture so perfectly. (Obviously if you don't like your French toast thick and a little on the gooey side, you may want to just use regular white bread.) I've also made French toast with cinnamon raisin bread or an Italian loaf from the local bakery, which are also wonderful options if you want to add a little extra flavor to your recipe!


To make the egg mixture, I first cracked four eggs into a shallow pan.


To the eggs, I added about 1.5 cups of milk, 1/3 cup sugar, 1 tablespoon cinnamon, 1 tablespoon vanilla extract, freshly grated nutmeg, and about a teaspoon of salt to balance out the sweetness. I then mixed all the ingredients until well combined.


I then dipped each piece of bread into the egg mixture, soaking for about 5 seconds per side to absorb as much sugary, eggey mixture as possible. You should be able to get about 6 - 8 slices of bread coated, depending again on how gooey you like them to be!


Once the bread had soaked up as much egg mixture as possible, I placed them on a griddle heated to 350 degrees and let it cook for 3 - 5 minutes per side, until golden brown. 


As the bread finished cooking, I started on the pecan topping. To make the candied pecans, I first needed to toast them so they could add their rich, buttery flavor to the French toast. To toast the pecans, I simply put them in a pan over medium heat for about 3 minutes.


Once the pecans started toasting (you can tell when this happens once they start to release some of their oil into the pan...which smells AMAZING) I added a tablespoon of butter, brown sugar, vanilla extract, and a pinch of salt. I let it all melt together then reduced the heat to low and stirred it together for about 5 minutes until the butter and sugar started to thicken and form a caramel on the pecans.


Once the pecans started to caramelize, I turned off the heat and let them cool for a just a couple minutes before spooning them onto the French toast with some maple syrup and powdered sugar. Served with a big cup of coffee, this was just the brunch I needed to start my day! Bon appetit!


French Toast Recipe:

Ingredients:

6 - 8 slices of thick white bread
4 eggs
1/3 cup sugar
1 1/2 cups milk
 1 Tbs vanilla extract
1 Tbs cinnamon
1/4 tsp. granted nutmeg
1 tsp salt

Steps:
1. Crack eggs into a shallow pan
2. Add sugar, milk, vanilla extract, cinnamon, nutmeg, and salt. Mix until well combined.
3. Soak bread in egg mixture until each side is saturated.
4. Place onto a 350 degrees hot griddle, and cook 3 - 5 minutes per side until golden brown.
5. Serve with maple syrup, hot candied pecans, and powdered sugar.

Candied Pecans Recipe:

Ingredients:

1 cup chopped pecans
1 Tbs butter
1 Tbs packed brown sugar
1 tsp vanilla extract
Pinch salt

Steps:
1. Toast the pecans in a pan over medium heat for about 3 minutes.
2. Add butter, brown sugar, vanilla extract, and salt. 
3. Once all ingredients are melted and well combined, reduce heat to low and simmer for 3 - 5 minutes.
4. Remove from heat about 5 minutes to let the pecans slightly cool and caramelize. 
5. Spoon onto French toast...and enjoy!

Thursday, January 29, 2015

Breakfast - Banana Walnut Bread

It's gotten to be that time when I need to do a grocery run to keep our breakfasts healthy and filling...first we ran out of yogurt last week (which is a frequent breakfast item), then we ran out of oats for protein oatmeal earlier this week, THEN we ran out of bread for breakfast sandwiches today. Needless to say, I know what I will be doing this weekend.

So, I decided to start our weekend out right and make some banana bread tonight that would be a great start to our day tomorrow and into the weekend! It's based off the Food Network recipe (here) with just a couple flavor additions.

I start out with the list ingredients, but use one additional banana, half brown sugar, nutmeg, and vanilla extract. 


I mixed the butter with 1/2 cup each brown sugar and granulated sugar. Since I decided to make this recipe last minute and didn't leave my butter out, I microwaved the whole stick for 15 seconds...I know technically that's a no-no, but it's better than waiting for it to soften on its own! :)


I peeled the ripe bananas and smashed them with a fork. Since I freeze my bananas once they're ripe, I had to use the same microwave technique above to get these to thaw...also hence the watery consistency when mashed (even thought I find that it makes the bread more moist!)
\

As I mentioned, the Food Network recipe only calls for cinnamon at this point, however I also added 1 tsp. vanilla and about a 1/4 tsp. nutmeg. I use freshly grated nutmeg so the flavor is strong...if you're using ground nutmeg you may need a little more for the flavor to come through.


Once the dry ingredients and the wet ingredients were ready, I added them to the mixer!


...this is also where I find the mixer shield to be of great use so I don't end up with flour all over me and my kitchen.


Lastly, my final additional ingredient was a cup of chopped walnuts. I have also used walnut topping in past batters which has a less pronounced consistency but still tastes great! You could also use pecans or hazelnuts if you prefer a different taste, or you can omit the nuts completely!


Once the batter was mixed it went into the pan...


...and came out golden brown and crispy! (I had to bake mine for an additional five minutes because of the water in the bananas...you can bake it more or less depending on how "gooey" you like your banana bread)


I know it says to let it cool for 15 minutes before cutting but I couldn't resist...turns out banana bread makes a pretty tasty dessert too :) Can't wait to enjoy a hot piece with my coffee in the morning!


Tuesday, January 20, 2015

Weekday Breakfast - Protein Oatmeal

Sorry to add a second breakfast post in a row, but as my favorite meal (and the most important meal of the day!) I thought it would be ok :) Since yesterday I talked about my weekend morning fuel, I wanted to share one of my weekday favorites. It's so quick and easy and can be prepped for a week or two in advance...even though usually I'm not that proactive and am throwing it together while running out the door!
 
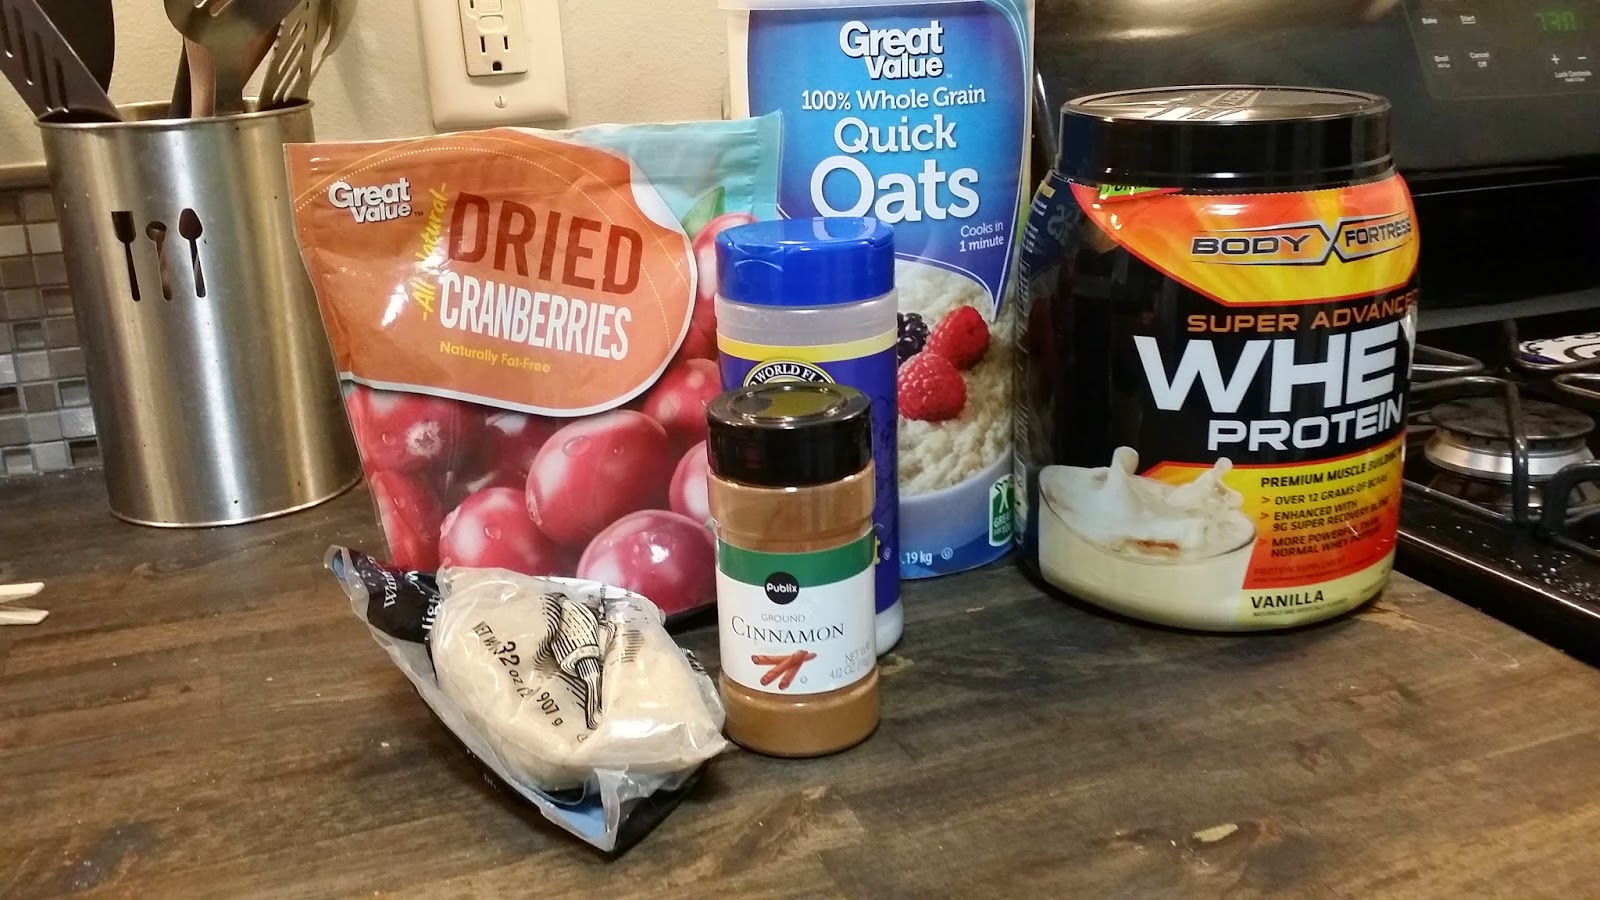
The basic ingredients I use are instant oats, protein powder, brown sugar, cinnamon, salt (yes, salt....just not much!), and some sort of dried friuts or nuts.   
 
 
I start by adding about a 1/2 cup of instant oats to a microwave safe bowl. I then add about a 1/4 cup vanilla flavored protein powder, 1 tablespoon of brown sugar, 1 teaspoon of cinnamon, and a pinch of salt. Throw in a handful of whatever fruits/nuts you would like, and mix it together.

 
Add enough water to cover the mixture and stir. This step is VERY important, as the protein powder will cook into a big, lumpy chunks if it's not stirred extremely well. Put it in the microwave for 1.5 - 2 minutes, just until the top begins to bubble up, and you're done! I usually wait to do this step until I'm at work so I have hot oatmeal...to cool it off you can add an ice cube and stir it around until it's completely melted into the oatmeal.

 
You could always prepare these ahead of time and put them in ziplock bags too...either way, this is a great way to start your day!


Monday, January 19, 2015

Weekend Breakfast - Conecuh, Egg, & Cheese Sandwich

Yesterday I had several morning errands to run, and wanted to fuel up before heading out! Luckily I had some leftover conecuh sausage from my dinner the other night (to read more about that click here) which was the perfect start to my day. 

I started with a few simple and staple ingredient categories...eggs, meat, and bread. As I mentioned, my meat was conecuh sausage, so to make up for the calories I used Flat Out sandwich thins. Orrrrrr...it might have been because they were about to go bad and I figured they would help make the sandwich more portable. I'll never tell :)


I first chopped the sausage into fine pieces and added it to a skillet. I didn't use any oil because the sausage was fatty enough, and soon enough it was sizzling away.


I then cracked four large eggs into a bowl (I was making these for my hubby and myself...if it's just for one I would recommend only using one or two eggs). I added a couple tablespoons of milk so the eggs would be extra fluffy and some freshly cracked black pepper for extra flavor and whipped this all together for about 30 seconds.


I added the eggs directly to the pan with the sausage and gently stirred until it was cooked through. I sprinkled the cooked egg mixture with cheese, turned off the burner, and covered the pan for about 5 minutes until it was nice and melty.


I spooned a generous amount of egg into each of the sandwich thins. Throw in a hot thermos of coffee and I was ready for whatever the day could throw my way!